userGuide
JAS Connect Self Service Portal: Build, Connect, Innovate
Click here to know more about Your Developer Access
To use the REST API products offered by JAS, you will need to register as a user on the JAS Connect portal via the Registration Form.
Note: An email with an activation link will be sent to you after signing up. Please click on the activation link in the email to finalize the registration.
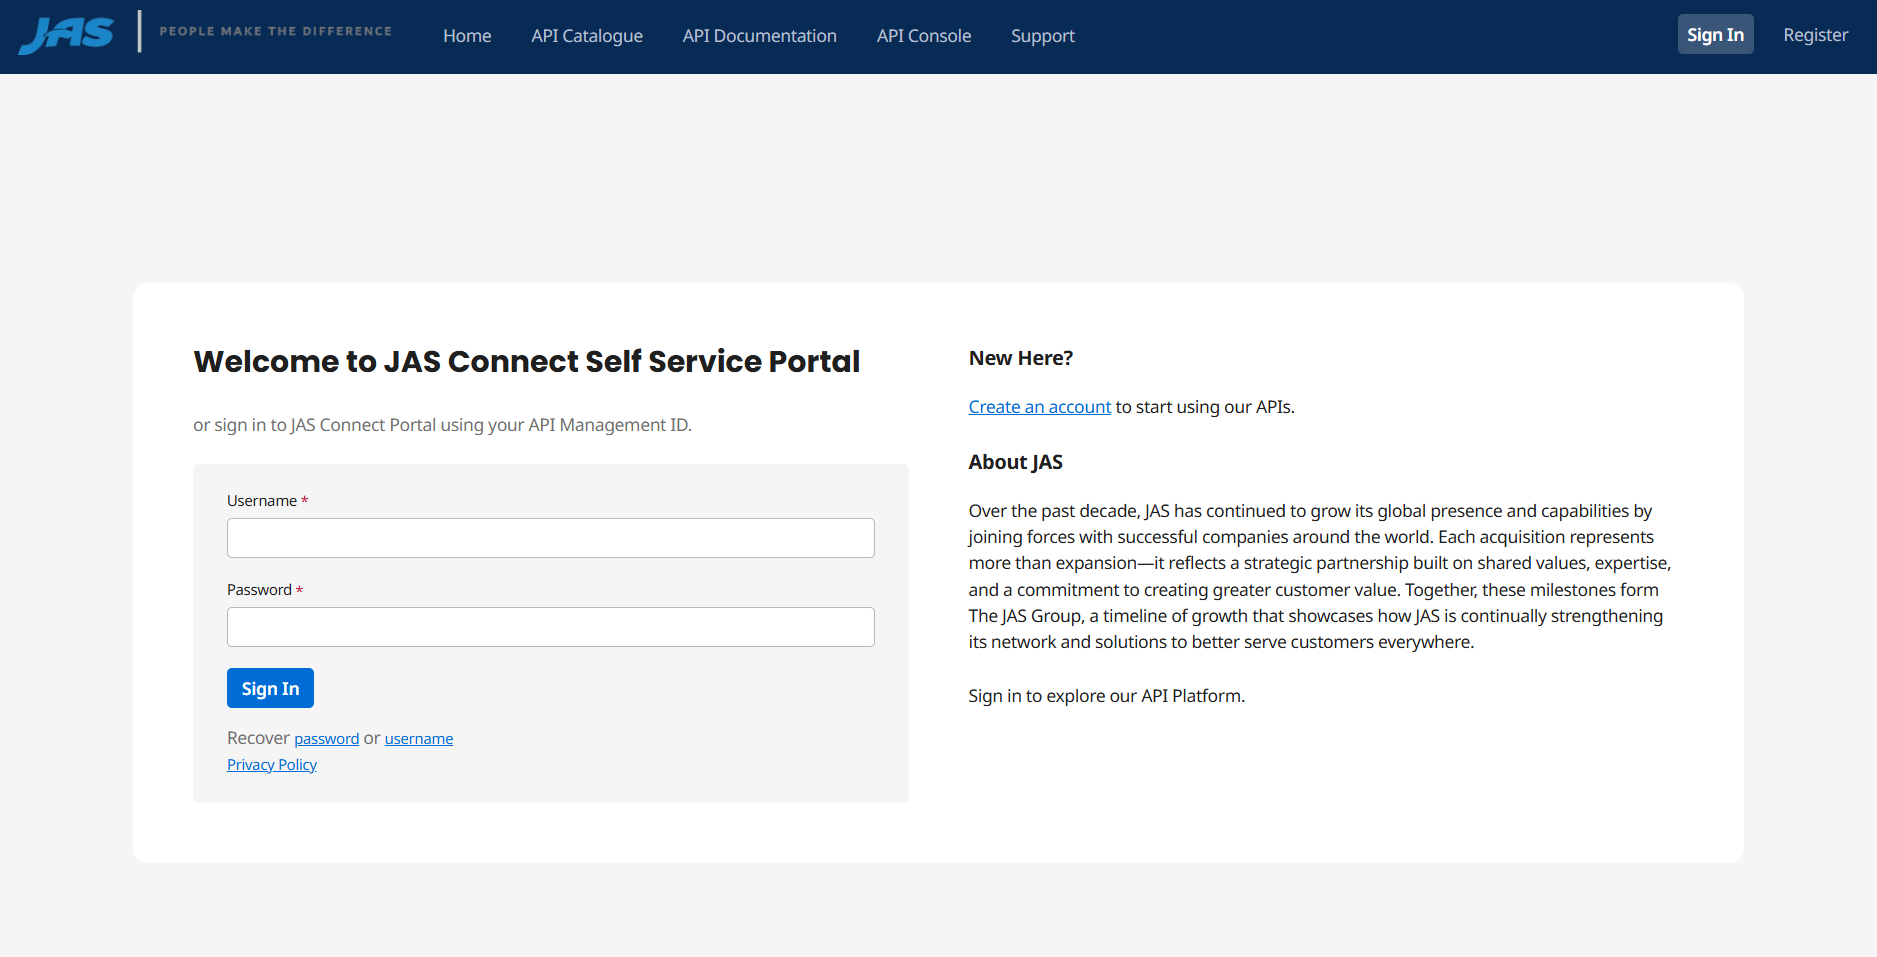
- Step 1: Go to JAS Connect Self Service Portal
- Step 2: Select Register
- Step 3: Fill out the form
- Step 4: An email with an activation link will be sent to you after signing up. Please Click on the activation link in the email to finalize the registration.
- Step 5: You can now Sign in with your email and password.
Click here to know more about accessing JAS API suite
An overview of available APIs can be found in the top menu under API Catalogue .
- Step 1: Go to Home – JAS Connect Self Service Portal
- Step 2: Select Sign In, and login with the User Credentials obtained.
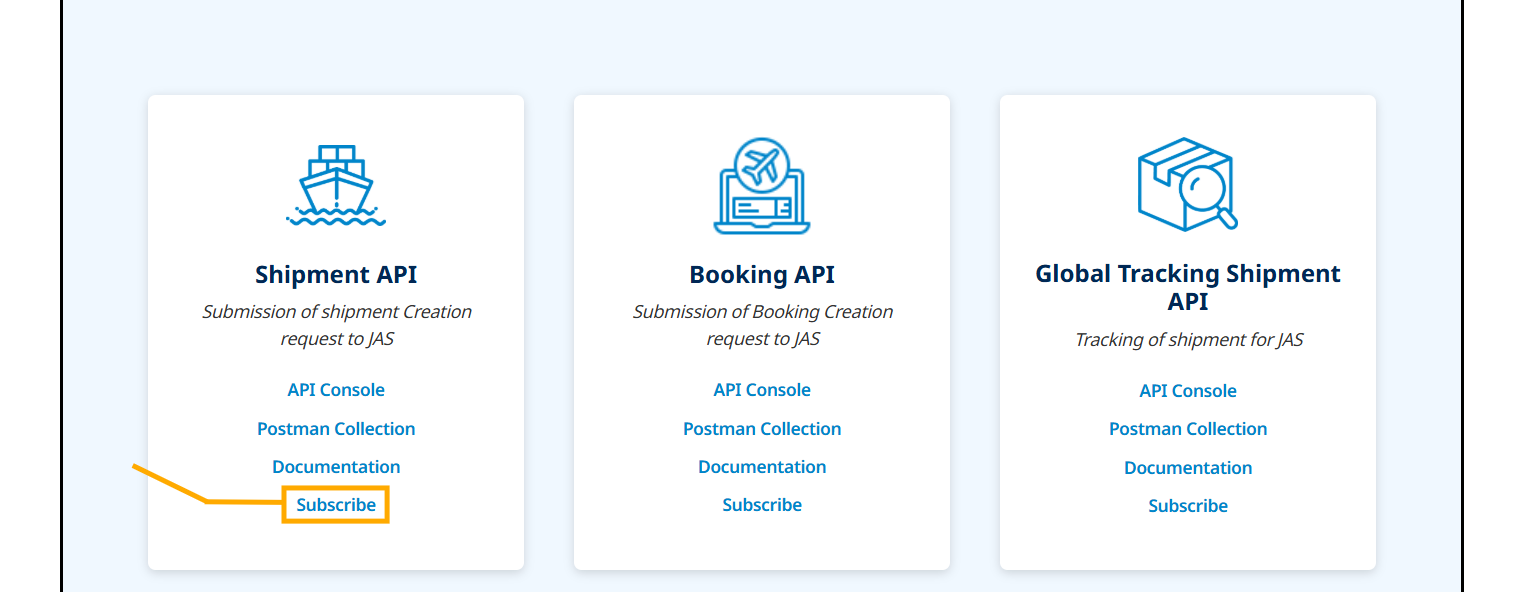
- Step 3: Go to API Catalogue
- Step 4: Click on Subscribe
- Step 5: Once Clicked on Subscribe, you'll land in "My Apps" - your launchpad for innovation.
- Step 6: Click on “Create a New App”.
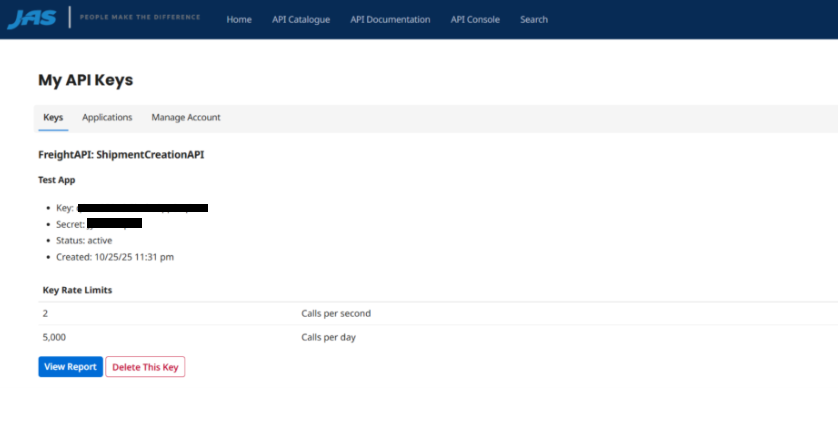
- Step 7: An Email will be sent to JAS Connect Portal Administrator to approve your application access to the API and additional header information which needs to be passed on the API call will be sent, i.e. x-api-key. Once the x-api-key is generated and access approved you will see the status changed from ‘waiting’ to ‘active’ under the "Keys" Tab..


Note: Separate applications to be created for TEST and PRODUCTION. The TEST application name should contain <>TEST at the last, and PRODUCTION application name should contain <>PRODUCTION at the last.
Click here to know more about Development and Testing of APIs
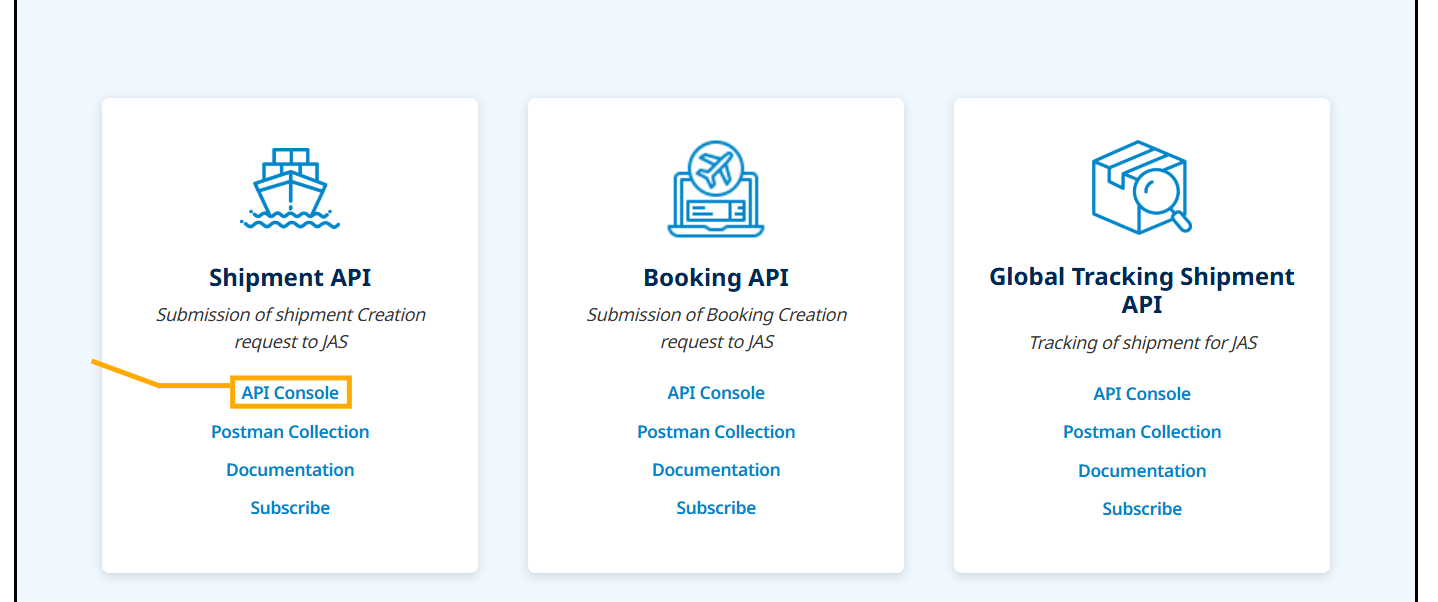
Schema of the APIs can be viewed and tested on the individual API page with the option to download through our Interactive API UI Interface.
Click here to know more about Prod Enviornments
After successfully testing the setup against My JAS test APIs , simply perform the following steps:
- Step 1: Go to Home – JAS Connect Self Service Portal
- Step 2: Select Sign In, and login with the User Credentials obtained.
- Step 3: Go to API Catalogue
- Step 4: Click on Subscribe
- Step 5: Once Clicked on Subscribe, you'll land in "My Apps" - your launchpad for innovation.
- Step 6: Click on “Create a New App”.
- Step 7: An Email will be sent to My JAS Connect Portal Administrator to approve your application access to the API and additional header information which needs to be passed on the API call will be sent, i.e. x-api-key. Once the x-api-key is generated and access approved you will see the status changed from ‘waiting’ to ‘active’ under the "Keys" Tab..
Note: Separate applications to be created for TEST and PRODUCTION. The TEST application name should contain <>TEST at the last, and PRODUCTION application name should contain <>PRODUCTION at the last.
Click here to know more about Support
Need a hand during your JAS API journey? Whether you're facing implementation challenges or have insights and questions about our technical documentation, we're here to help. Reach out anytime through the Support menu—your success is our priority.